
A standout roll-up banner can turn a forgettable booth into a crowd magnet, while a poorly executed one gets ignored. Whether you’re prepping for a trade show, product launch, or conference, getting every detail right is the difference between a banner that works and a banner that wastes space.
Why Perfect Roll-Up Banners Matter
The Impact of Visual Communication at Events
In the noisy world of exhibitions and conventions, your roll-up banner is the first thing people see. A sharp design with clear messaging grabs attention instantly, communicates brand professionalism, and drives engagement before you’ve even said a word.
Common Mistakes That Undermine Banner Effectiveness
Misspellings, stretched logos, and overcrowded layouts are classic pitfalls. Another common mishap is using low-resolution images that look sharp on your laptop but fuzzy when enlarged. These mistakes can make even big-budget displays look amateurish.
Challenges in Designing and Printing Roll-Up Banners
The challenge isn’t just making something eye-catching. You must design within specific technical restrictions: safe zones, bleed, resolution, correct color mode, and stand compatibility. Overlooking any of these can derail an otherwise strong concept.
Choosing the Right Materials and Dimensions
Why 13oz Matte Vinyl is the Industry Standard
Successful banners don’t just look good from a distance; they withstand handling, lighting, and transport. The preferred material, 13oz matte vinyl, strikes the right balance. It’s durable, resists glare under harsh lighting, and renders crisp graphics. Banner printers like Doculand Montreal banner printing recommend it for consistent, professional results.
Standard Sizes and When to Customize
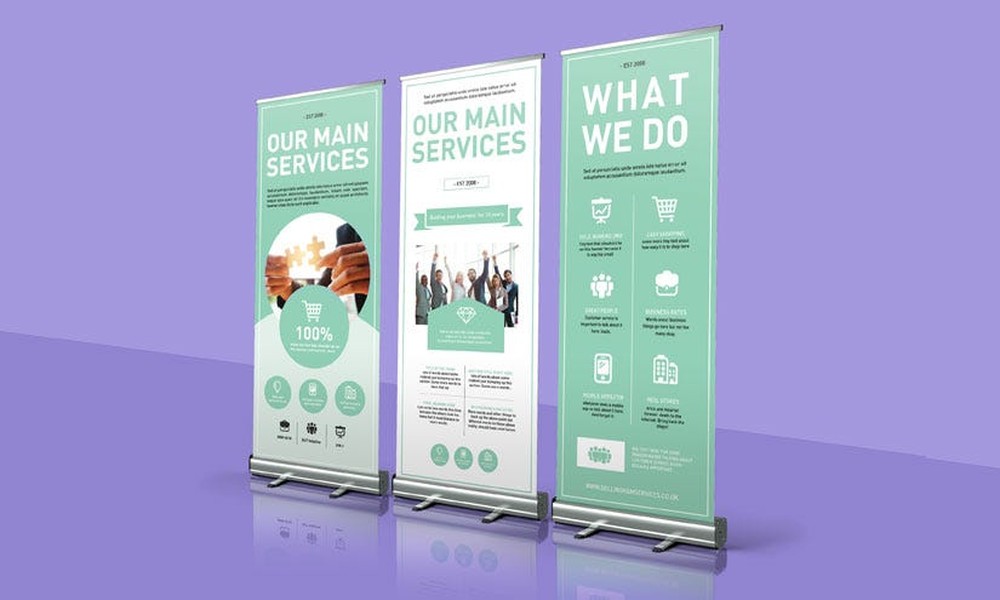
The go-to size for most roll-up banners is 33 x 81 inches. This size is large enough to command attention but slim enough to fit into tight tradeshow setups. Custom dimensions are sometimes necessary for unique venues, though standard stands are easiest to source and transport.
The Importance of Stability: Retractable Stands and Support Feet
Nothing undermines a presentation like a banner toppling mid-event. Retractable stands, especially those with twist-out feet, provide essential stability on crowded floors. Always double-check that your stand matches your banner’s dimensions.
Designing Your Banner for Maximum Impact
Setting Up Your Artwork: Dimensions and Safe Zones
Bleed and safe zones are the unsung heroes of banner design. Extend your background 0.5 inches beyond the trim line on all sides to avoid white edges. Keep all text and critical graphics at least 1 inch inside the finished size so nothing gets cut off.
Color Management: CMYK vs RGB
Monitors display in RGB, but printers use CMYK. If you design in RGB, colors may print dull or off-tone. Convert your file to CMYK before submitting to guarantee accurate color reproduction.
Resolution and Image Quality Best Practices
A minimum of 150 dpi is non-negotiable for large format prints. While higher resolution might seem better, most printers won’t accept files above 150-200 dpi for banners. Anything lower, and images will look pixelated once scaled up.
Avoiding Hidden Elements: The Bottom 3-Inch Rule
Crucially, avoid placing important content in the bottom 3 inches of your artwork. This area will be hidden by the stand’s base mechanism, a detail many designers overlook.
Preparing Your File for Printing
Bleed and Trim: What You Need to Know
Always set your document to the final print size plus the bleed, then indicate trim marks if your software allows. This small step prevents accidental white lines or missing content on your finished banner.
Font Handling: Converting to Outlines
Fonts can go missing or substitute unexpectedly if they’re not embedded. Convert all fonts to outlines (shapes) before exporting your PDF. This locks in your typography, ensuring nothing shifts or drops out.
Preferred File Formats and Submission Tips
PDF reigns supreme for banner printing. It preserves vector graphics, color profiles, and layout integrity. Double-check that your PDF is flattened and all elements are embedded before you upload.
Using Templates to Streamline Your Workflow
Most print shops offer downloadable templates with all the technical guides baked in. Starting with these saves time and reduces risk of misalignment or sizing errors.
Common Pitfalls and How to Avoid Them
– Jam-packed text and images: Leave breathing room. Banners are for key messages, not everything you want to say.
– Ignoring lighting and glare: Choose matte vinyl and test your design under different lighting if possible.
– Misalignment and compatibility: Double-check artwork positioning and ensure it pairs with your specific stand.
From Design to Delivery: The Action Plan
Before sending off your final file, run through this essential checklist:
– Confirm correct dimensions (33″ x 81″ standard)
– Add 0.5″ bleed on all sides
– Keep vital content 1″ inside trim and above bottom 3″
– Convert colors to CMYK
– Use 150 dpi resolution
– Convert fonts to outlines
– Export as flattened PDF
– Review using the print shop’s template
After submitting, request a digital proof if possible. Small errors are much easier to fix before printing. Finally, plan for safe packaging and onsite setup, nothing ruins a perfect print job like a last-minute crease.
Optimizing Your Roll-Up Banner for Different Events
Trade shows demand large text and branding at eye level, while outdoor events may require weather-resistant materials and extra-stable bases. When moving between events, use protective cases to avoid scratches. For storage, keep banners rolled with graphics facing outward and in a dry environment to prolong their lifespan.
With careful planning and attention to detail, your roll-up banner can become an event staple that works hard for your message every time.